
Lemon extract is a pantry staple for many bakers, adding a bright, citrusy punch to everything from cakes to cookies. While store-bought versions are readily available, making your own at home is incredibly simple, more economical, and allows you to control the quality of your ingredients. Plus, there’s something incredibly satisfying about creating your own flavorings from scratch!
This recipe focuses on using organic lemons, ensuring your extract is free from pesticides and waxes often found on conventionally grown citrus. The vibrant zest is where all the flavorful oils reside, making it the star of our show.
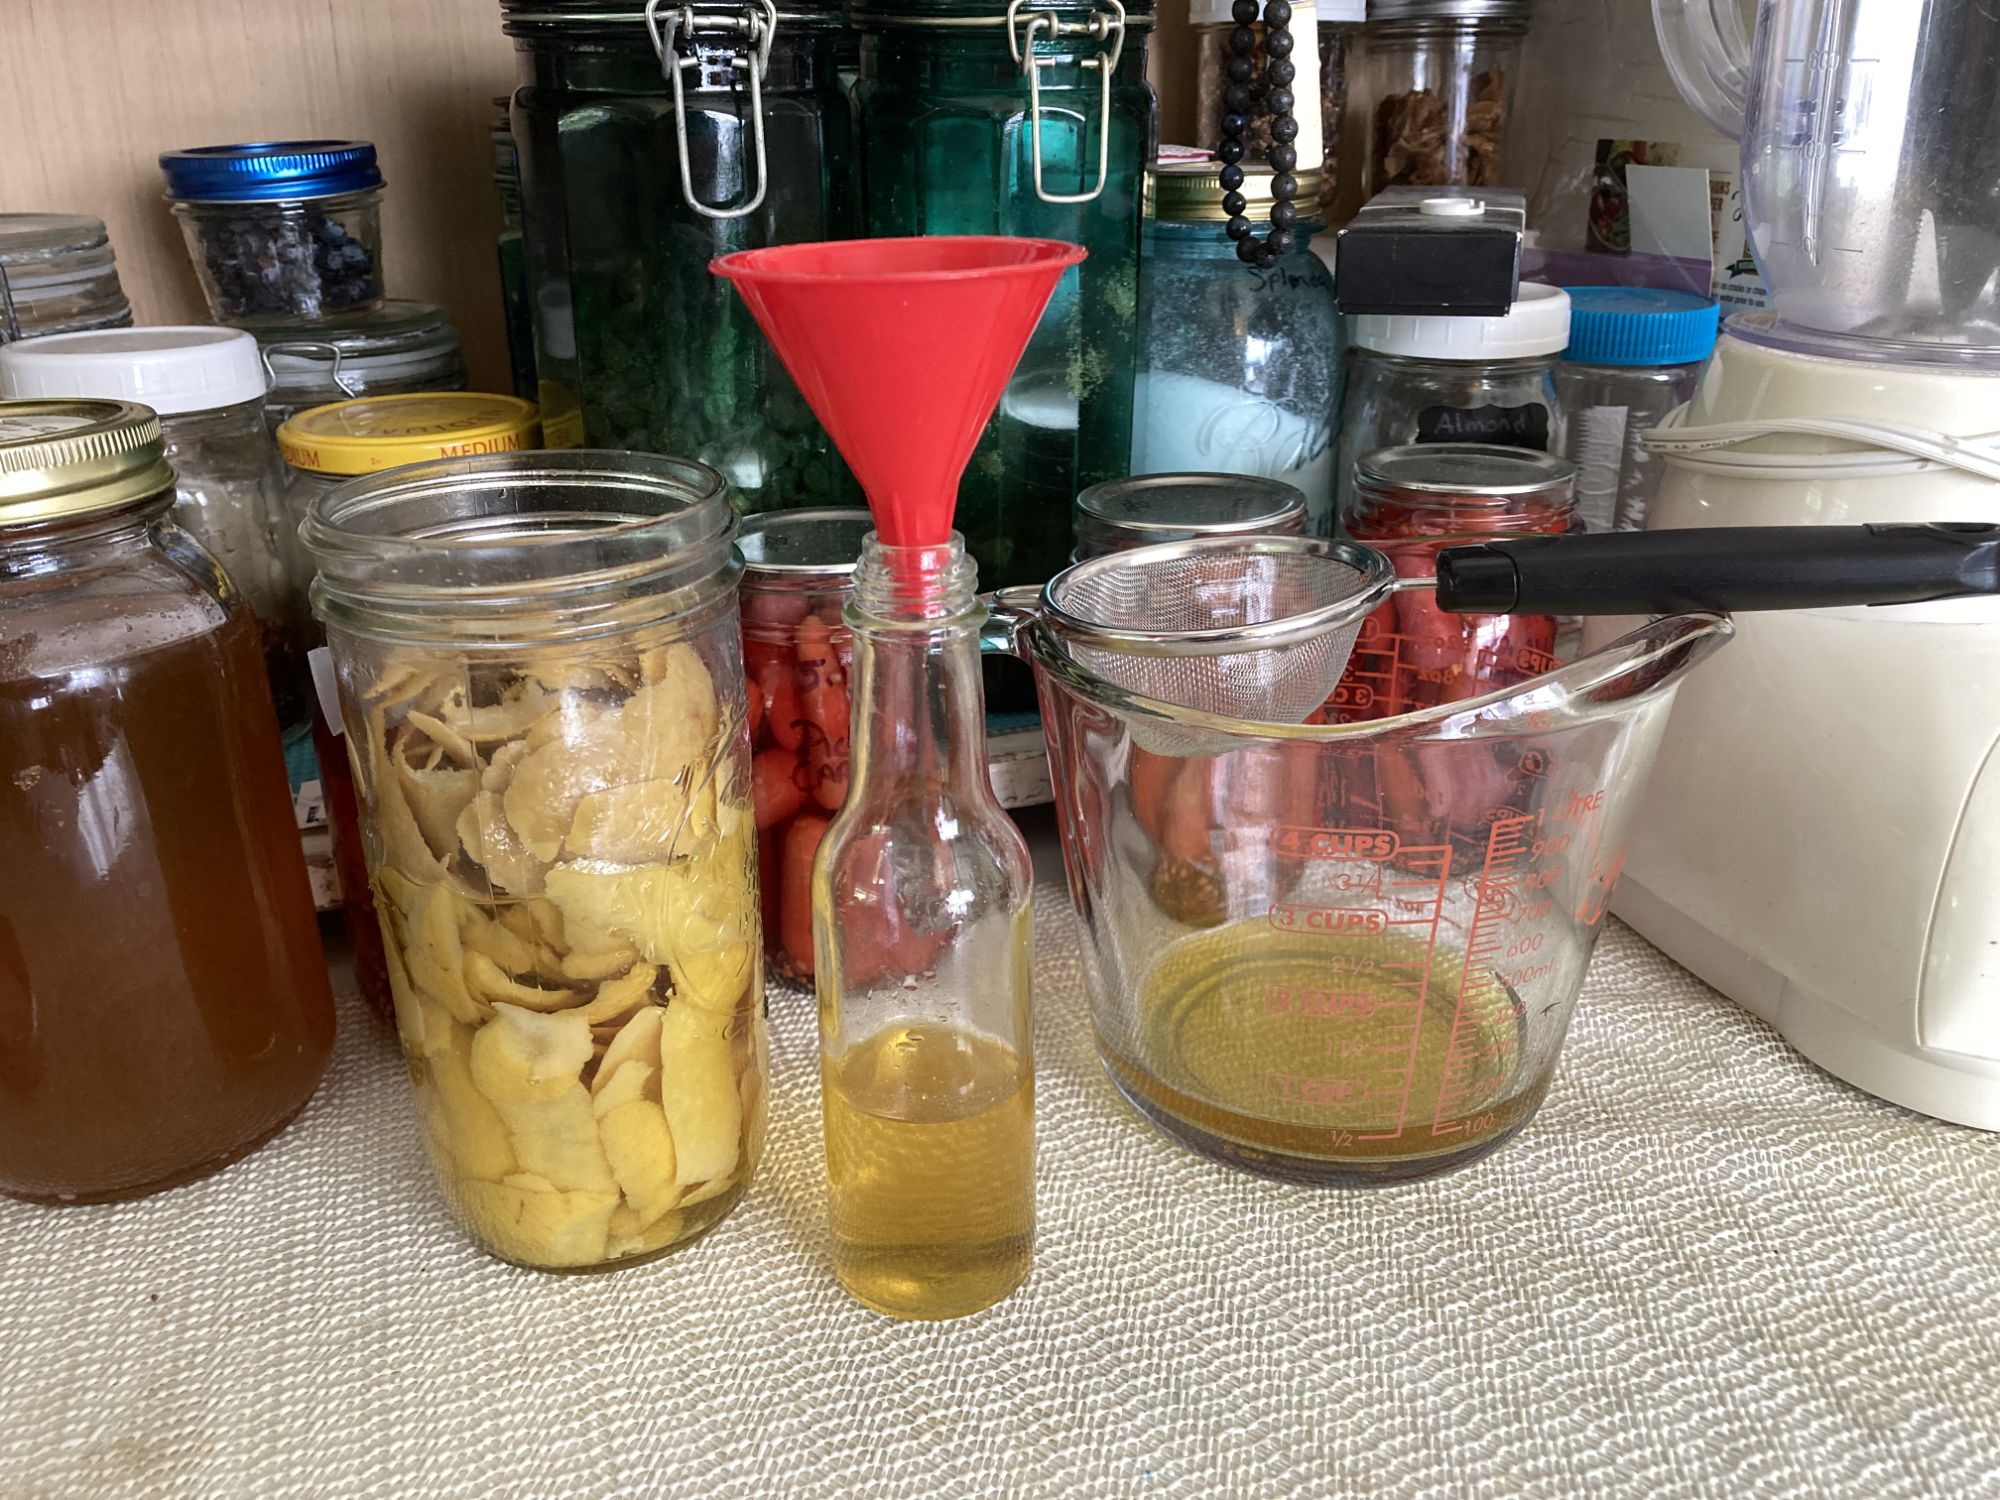
What You’ll Need:
* Organic Lemons: 3-4 medium-sized, or enough to yield about 1/2 cup of zest.
* High-Proof Alcohol: 1 cup (190 proof grain alcohol like Everclear is ideal, but vodka (at least 80 proof) will also work, though it will take longer to extract).
* Airtight Glass Jar: Pint-sized or similar, with a tight-fitting lid.
* Vegetable Peeler or Microplane: For zesting.
* Fine-Mesh Sieve or Cheesecloth: For straining.
* Small Dark Glass Bottles (Optional): For storing the finished extract.
Instructions:
* Prepare Your Lemons: Wash your organic lemons thoroughly with warm water and a scrub brush to remove any dirt. Pat them completely dry. This is crucial as any water introduced can dilute your extract.
* Zest the Lemons: Using a vegetable peeler, carefully remove only the yellow zest from the lemons, avoiding the bitter white pith underneath. If you’re using a microplane, grate the zest finely. Aim for about 1/2 cup of packed zest.
* Combine in Jar: Place the lemon zest into your clean, dry glass jar.
* Add Alcohol: Pour the high-proof alcohol over the lemon zest, ensuring the zest is completely submerged.
* Seal and Shake: Seal the jar tightly with the lid. Give it a good shake to mix the zest and alcohol.
* Infuse: Store the jar in a cool, dark place, like a pantry or cupboard. You can place the jar in a paper lunch bag, Crown Royal bag, or purchase bags from the major online shops.
* Shake the jar gently every day or two for the first week, and then periodically thereafter.

* Patience is Key: The longer you let it infuse, the stronger your extract will be. For a good, robust flavor, aim for at least 4-6 weeks. Some people even let theirs go for several months! You’ll notice the alcohol gradually turning a yellowish hue as it absorbs the lemon oils.
* Strain: Once you’re happy with the strength of your extract, strain the liquid through a fine-mesh sieve or several layers of cheesecloth into a clean bowl or directly into your storage bottles. Save the spent lemon zest for lemon sugar.
* Store: Transfer your homemade lemon extract to small, dark glass bottles if you have them. Dark glass helps protect the extract from light degradation. Store in a cool, dark place. Properly stored, your homemade lemon extract can last for years!
Tips for Success:
* No Pith! The white pith is bitter and will negatively affect the flavor of your extract. Take care to only remove the yellow zest.
* High-Quality Alcohol: While vodka works, 190-proof grain alcohol extracts flavors more efficiently and results in a stronger, more concentrated extract.
* Gift Idea: Homemade lemon extract makes a wonderful and thoughtful gift for the bakers and cooks in your life!
Enjoy the bright, fresh taste of your very own homemade lemon extract in all your culinary creations!