
In West Virginia, we know the value of making things last and getting the most out of what we have. That spirit extends beautifully to the kitchen, where you can easily turn everyday food scraps into a thriving little garden right on your windowsill! It’s not about fancy gourmet meals, but about fresh, accessible greens that can add flavor and nutrition to your favorite comfort foods.
Regrowing vegetables from scraps is a fun, easy, and affordable way to bring a touch of green into your home, even if you don’t have a big yard. All you need are a few common kitchen discards, some small containers, and a sunny spot.
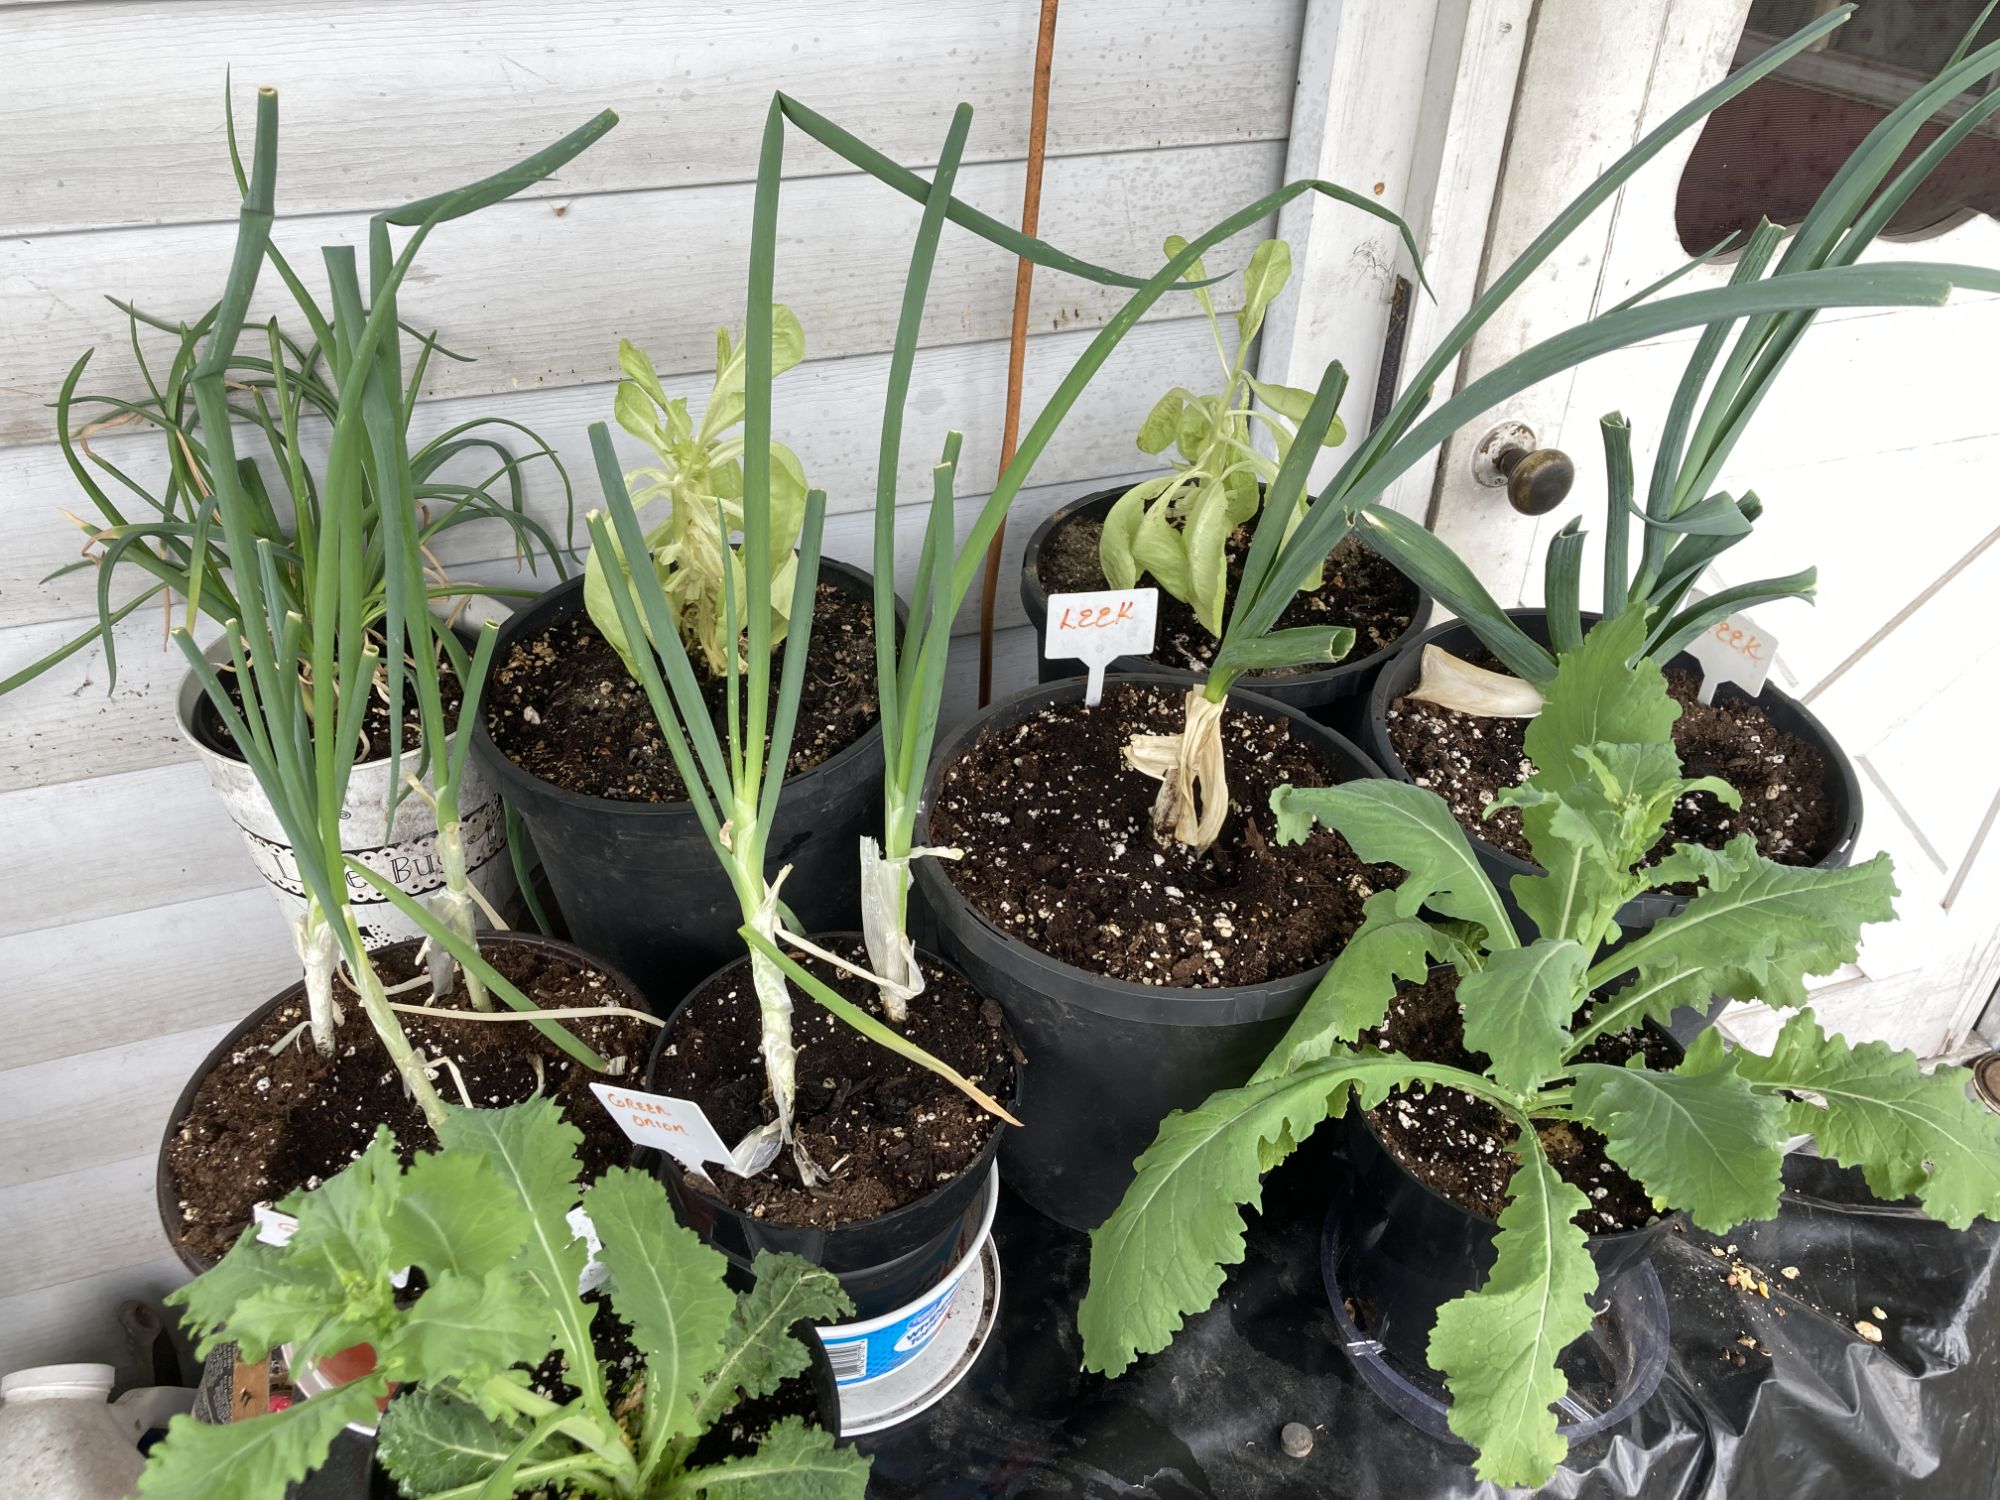
What You Can Regrow and How to Do It
Let’s look at some common scraps that are perfect for regrowing, and how you can get them started.
1. Green Onions (Scallions)
Green onions are perhaps the easiest and most rewarding scrap to regrow.
- How to Regrow: When you use green onions, save the white ends with the roots attached (about an inch or two). Place them root-down in a small glass or jar with just enough water to cover the roots.
- Care: Place the glass on a sunny windowsill. Change the water every day or two to prevent mold. You’ll see new green shoots emerge within a few days! Then transfer into a small container with soil.
- Harvesting: Once the green tops are a few inches tall, you can snip off what you need, and they’ll keep growing back.
- Use: Freshly snipped green onions are fantastic over scrambled eggs, in a bowl of pinto beans and cornbread, sprinkled on top of chili, or mixed into mashed potatoes. They add a mild onion flavor and a pop of color.
2. White Onions
While you won’t get a full new onion bulb, you can regrow the green tops from a white onion root.
- How to Regrow: Cut off the root end of a white onion, leaving about half an inch of onion attached. Place it in a shallow dish with a small amount of water, just enough to cover the bottom of the root.
- Care: Keep it in a sunny spot and change the water daily. Green shoots will start to appear from the center. Then transfer into a small container with soil.
- Harvesting: Once the green shoots are several inches tall, snip them off as needed.
- Use: These onion greens have a stronger flavor than green onions and can be chopped and used in soups, stews, or even fried potatoes. Think of them as a more robust version of chives.
3. Turnip Tops
If you buy turnips with their greens still attached, don’t throw them away!
- How to Regrow: Cut off the top part of the turnip, leaving about an inch of the root bulb attached to the greens. Place this top piece in a shallow dish with a little water, ensuring the cut side is submerged.
- Care: Keep in a sunny location and change the water regularly. New leaves will sprout from the center. Then transfer into a small container with soil.
- Harvesting: Once the new leaves are a few inches high, you can snip them off.
- Use: Turnip greens are a staple! These tender new greens can be cooked down with a bit of bacon grease or ham hock, just like collards or mustard greens. They’re also great lightly steamed and added to a plate of beans and cornbread.
4. Carrot Tops
Often discarded, carrot tops are surprisingly versatile and flavorful.
- How to Regrow: Cut off the top inch or so of a carrot, making sure some of the green stem base is intact. Place the cut end down in a shallow dish of water.
- Care: Place in a sunny spot and replenish the water daily. You’ll see feathery green shoots emerge. Then transfer into a small container with soil.
- Harvesting: Snip off the feathery greens as they grow.
- Use: Carrot tops have a slightly bitter, earthy, and parsley-like flavor. They can be chopped finely and used in place of parsley in many dishes. Try them in your chicken and dumplings, sprinkled over a hearty beef stew, or mixed into a simple salad. You can even blend them into a pesto for a unique twist on a classic.
Tips for Indoor Success
- Sunny Spots: Windowsills are ideal, especially south-facing ones. Any spot that gets several hours of direct sunlight will work.
- Small Containers: Old jars, plastic containers with holes poked in the bottom, or small pots are perfect. You don’t need anything fancy.
- Water Wisely: For water-based regrowing, change the water every day or two to prevent stagnation and mold. Once roots are established, you can transfer them to soil for longer growth.
- Soil (Optional for Longer Growth): If you want your plants to grow larger and last longer, once they’ve developed a good root system in water, transfer them to a small pot filled with potting mix. Bury the roots and the base of the plant, leaving the new green growth exposed. Keep the soil consistently moist but not waterlogged.
- Patience: While some scraps sprout quickly, others take a little more time. Don’t get discouraged if you don’t see results immediately.
Starting a kitchen scrap garden is a simple way to connect with your food, reduce waste, and enjoy fresh flavors right from your home. It’s a small step that can make a big difference, bringing a little bit of West Virginia’s resourceful spirit right into your kitchen!
