
The 12-Month Egg Experiment — Does Water Glassing Actually Work?
For any homesteader with a flock of chickens or ducks, the “winter egg slump” is a real challenge. As daylight fades, so does egg production. One of the oldest and most effective ways to combat this is water glassing—a method of preserving unwashed, fresh eggs in a solution of lime and water.
I recently opened a jar of eggs that had been sitting in my basement for nearly an entire year. Here is everything I learned from the “big reveal.”
⚠️ Important Food Safety DisclaimerPlease Note: Water glassing (preserving eggs in lime) is a traditional method that is not currently recommended or approved by the USDA or other official food safety agencies. The techniques and results shared in this content are based solely on my personal experience and experiments on my micro-homestead. If you choose to utilize this method, you do so at your own risk and discretion. Always prioritize modern food safety standards and consult official guidelines when preserving food for your household.
The Preservation Method
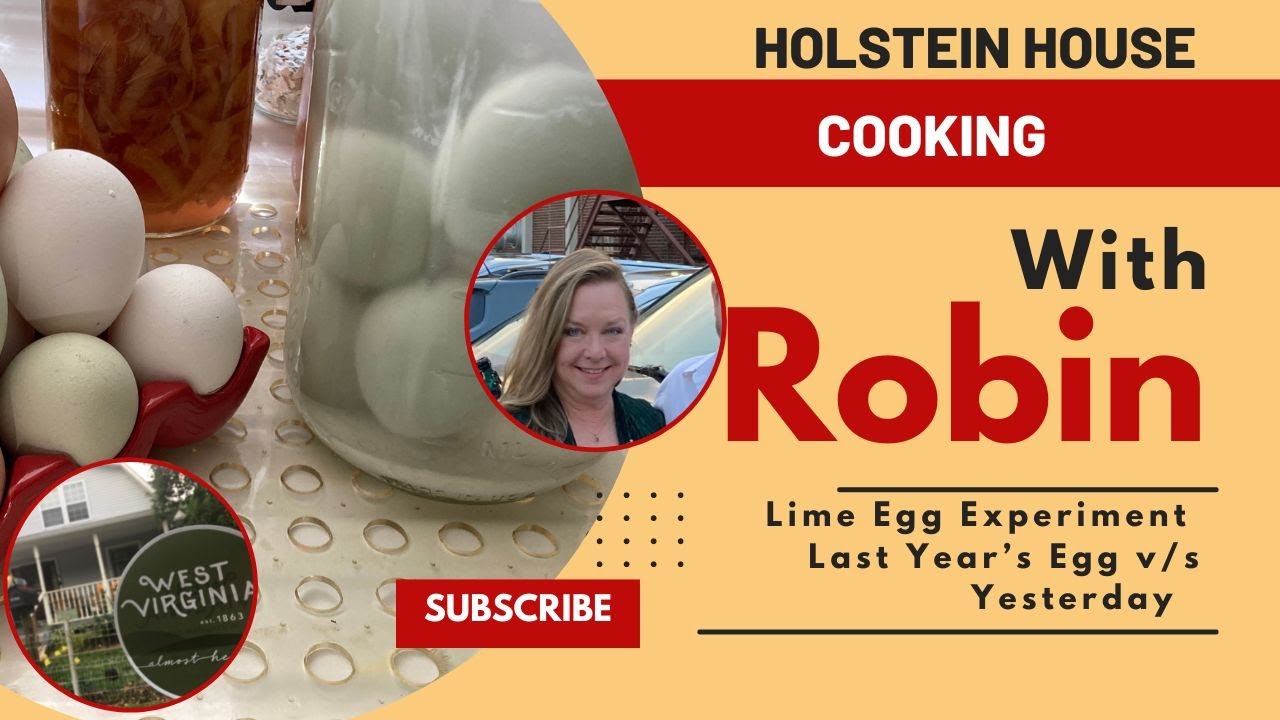
To preserve these eggs, I used Mrs. Wages Pickling Lime mixed at a ratio of 3 ounces of lime to 1 quart of water [01:58].
Pro-Tips for Successful Storage:
- Use Silicone Tongs: When loading your jar, use silicone-tipped tongs to ease the eggs in. This prevents micro-cracks that could ruin the whole batch [02:29].
- The “One-Inch” Rule: Always ensure there is at least an inch of lime water above the eggs. If the water evaporates and the eggs are exposed to air, they will spoil [02:54].
- Store and Ignore: Once the jar is sealed, keep it in a cool, dark place (like a basement) and do not shake or move it [03:29].
The Results: Fresh vs. Preserved
After nearly 12 months, I compared my limed eggs to fresh eggs laid just the day before.
The Look and Feel:
- The Shell: The limed egg shell felt slightly rougher or “grittier” than the smooth fresh shell [06:18].
- The Rinse: Lime is caustic, so it is vital to rinse the egg under cool water for several seconds before cracking it to ensure no residue gets into your food [05:49].
- The Interior: In the preserved eggs, the albumin (white) was slightly thinner and cloudier than a fresh egg [10:09]. Additionally, the yolks were much more fragile; while a fresh yolk stays firm, the preserved yolks tended to break almost immediately upon cracking [13:17].
The Taste Test
I decided to scramble the eggs “straight up”—no salt, no pepper, just a little oil—to get the truest sense of the flavor [14:59].
- The Scent: While the first egg I opened had a slightly “off” (but not rotten) scent and was discarded, the second egg smelled exactly like a fresh egg [18:56].
- The Flavor: To my surprise, the preserved egg tasted just like a regular egg! [19:34].
- The Texture: The only noticeable difference was the texture. The preserved egg was slightly thinner and less firm on the tongue than the fresh version [20:06].
Final Verdict: Should You Water Glass?
Absolutely! While I wouldn’t recommend using year-old water-glassed eggs for “over-easy” or “sunny-side up” dishes due to the fragile yolks, they are perfect for scrambling and baking.
The Golden Rule of Preserved Eggs: Always crack your eggs into a separate small dish before adding them to a pan or recipe [21:02]. This allows you to check the smell and look of each egg individually. As the saying goes: “When in doubt, throw it out!” [21:14].
Water glassing is a fantastic, low-cost way to ensure your family has a steady supply of homegrown eggs all year round.
Watch the full experiment here: